Add Your Sprite and Background
Add Your Sprite and Background
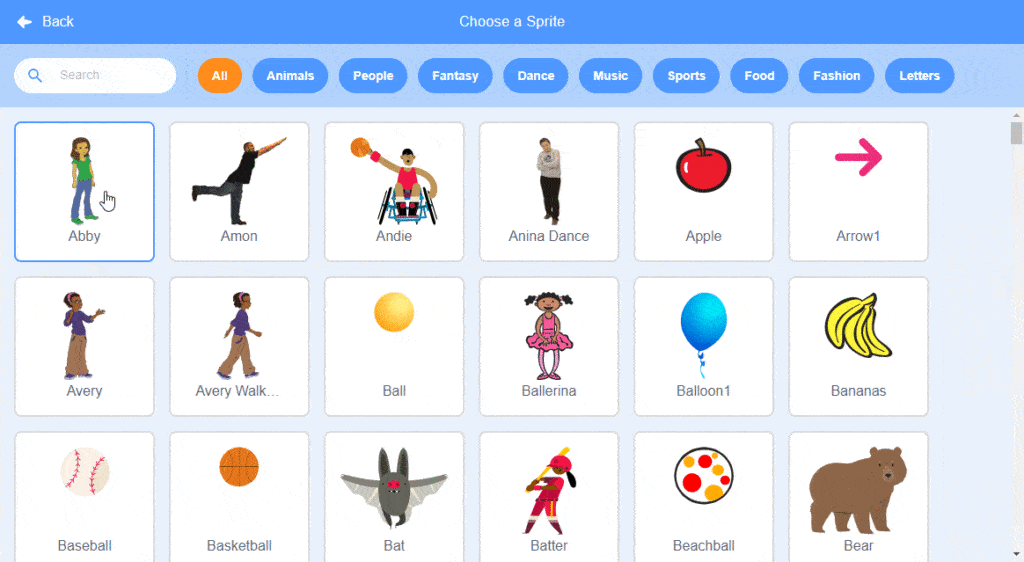
1. Choose a Backdrop for your project and a Sprite that you want to code to change costumes. If you need help with how to choose a Sprite, see Scratch Basics Episode 2 for more information.
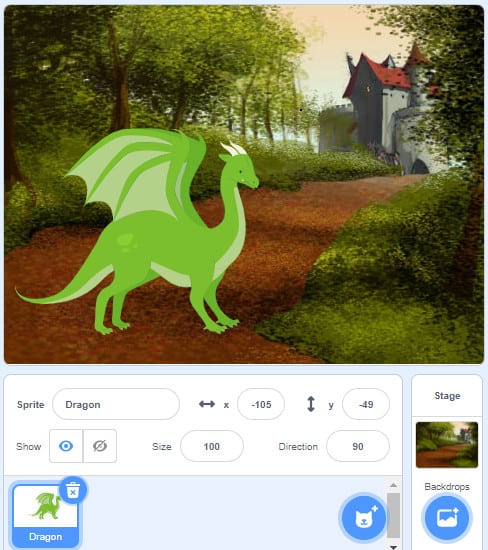
2. Make sure you choose a Sprite that has more than one costume. A costume is another picture of the same sprite that is just slightly different. Some of the sprites in the Scratch library only have one costume, while others have many. To see if a sprite has more than one costume, go to the sprites library and hover over it with your mouse so that a blue outline appears around it. The sprite will flip through its different costumes if it has more than one.
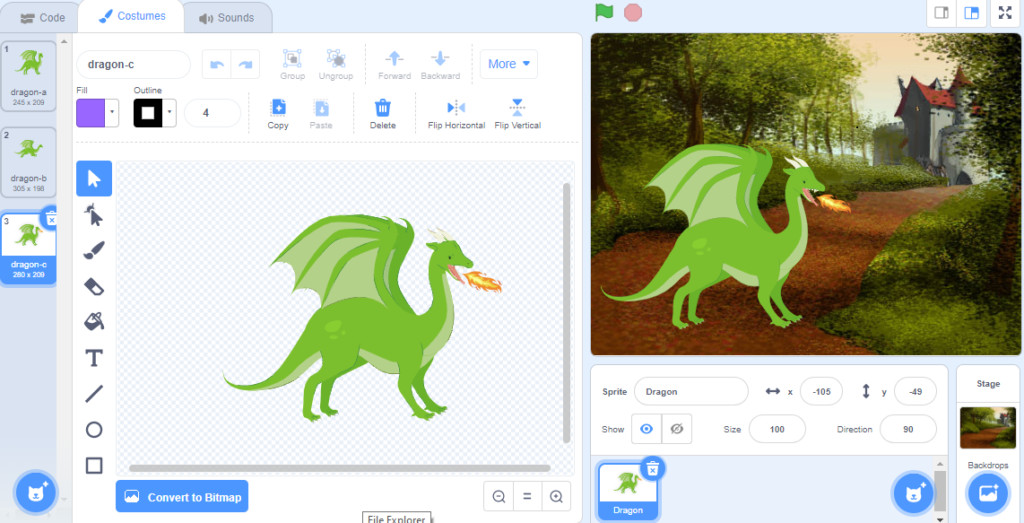
3. Check out your sprite’s different costumes by clicking on the Costumes tab just above the Block Palette to the left of your Code Area. You’ll see that the different costumes are named and categorized by letters. As you can see below, my dragon sprite has three different costumes: dragon-a, dragon-b, and dragon-c. Each costume is slightly different.
Dragon-a is the default costume that will automatically appear in the Sprites Pane and on your Stage.

Dragon- b is slightly different with bent legs and an elongated neck to look like it is flying.

Dragon-c is breathing fire.
| Views | |
|---|---|
| 1 | Total Views |
| 1 | Members Views |
| 0 | Public Views |